

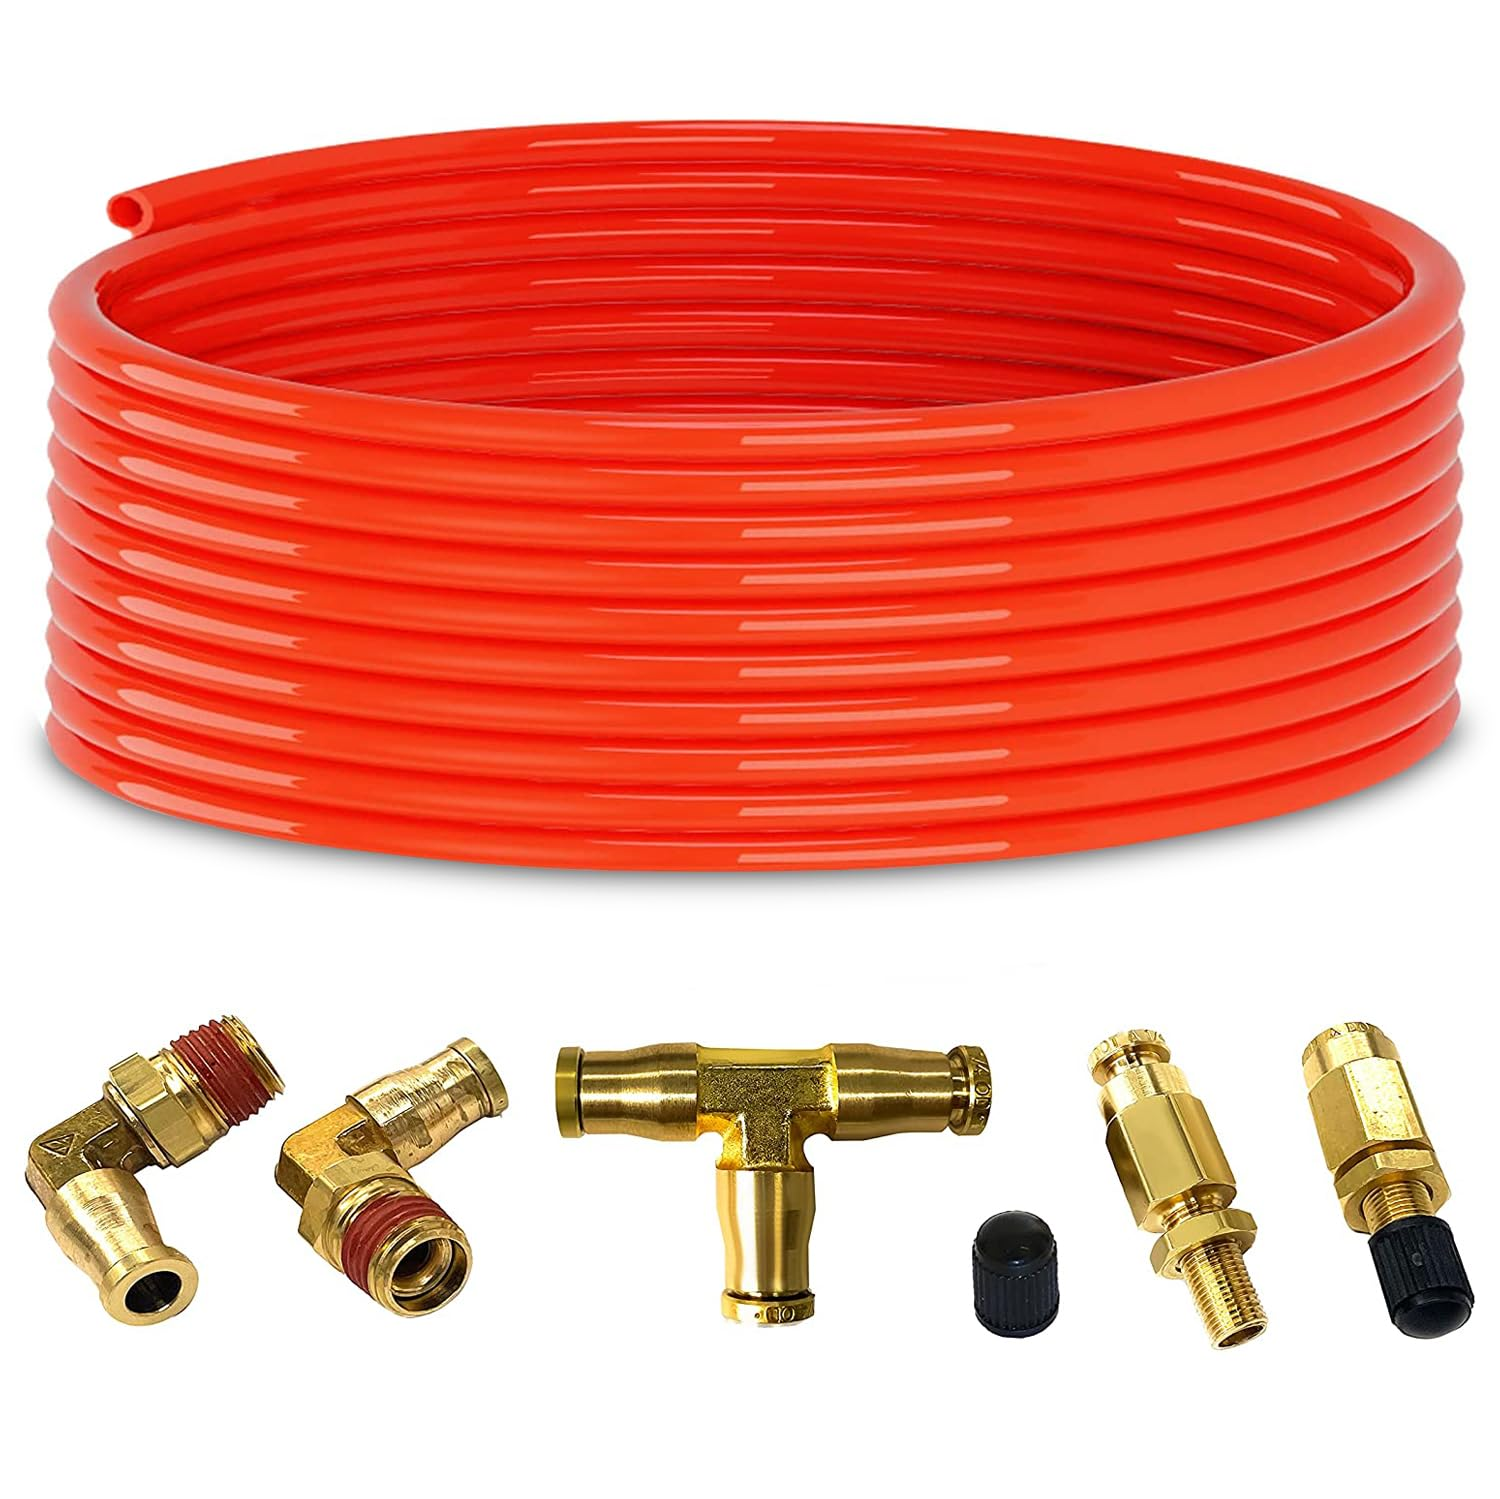
Air helper springs are simple systems, but small problems can become roadside repairs: a line rubbing a bracket, a fitting that is not fully seated, or an air spring contacting a hot exhaust component. A practical air suspension maintenance routine focuses on finding those issues early.
Inspection frequency should reflect vehicle use. Trucks that tow regularly, travel gravel roads, or operate through winter road treatment need more attention than lightly used vehicles.
Air helper springs can assist load leveling, but they do not increase the vehicle’s GVWR, GAWR, payload, tire capacity, hitch capacity, or towing rating. Follow the vehicle manual, installed kit instructions, stated pressure limits, and all rated limits. Seek qualified help if a component is damaged, the system will not hold pressure, suspension travel is uncertain, or a modification could affect safe operation.
Set Inspection Intervals Around Actual Use
Use the kit instructions as the primary maintenance reference. Routing, minimum pressure, fastener locations, and approved replacement parts vary by kit.
| Use pattern | Suggested attention | Priorities |
| Occasional light hauling | Check before long trips and during routine service | Visible damage, ride height, obvious leaks |
| Regular towing or payload work | Check before trips and inspect closely at service intervals | Lines, fittings, brackets, air-spring clearance |
| Gravel, construction, or off-road use | Inspect after dusty, muddy, or debris-heavy travel | Abrasion, trapped debris, loose hardware |
| Winter road treatment or coastal use | Rinse contamination and inspect through the season | Corrosion, tubing, fittings |
Start With a Cold, Parked-Vehicle Walkaround
Park on level ground, secure the vehicle, and allow hot underbody components to cool. Inspect both sides; matching parts do not always wear the same way.
Look for uneven air-spring shape or extension, rubbing marks, cracks, bulges, and debris between the bellows and nearby components. With the system set according to its instructions, listen for a persistent hiss near valves, fittings, and air springs. A change in vehicle stance after sitting also warrants a leak check.
Never place any part of your body beneath an unsupported vehicle. If access requires lifting, use safe lifting procedures and properly rated support equipment.
Clean Components Before Inspecting Them
Dirt can conceal a worn line or trap grit between an air spring and a bracket. Cleaning is part of inspection, not cosmetic work.
Use low-pressure water or a soft brush to remove mud, road film, and loose debris from air springs, mounting areas, and line routes. Do not use sharp tools on bellows or tubing. Avoid directing high-pressure water closely at seals, fittings, or onboard-air electrical components.
After cleaning, inspect for:
- Stones, hardened mud, or ice trapped near the air spring.
- Chafing where a line crosses a bracket, frame edge, suspension member, or heat shield.
- Tubing pulled tight at suspension extension or sharply bent near a fitting.
- Heat discoloration, melted plastic, or brittle tubing near the exhaust.
- Rust, movement, or distorted metal around brackets and fasteners.
The important question is clearance through suspension movement, not only while parked. A line that clears at rest may contact another component as the axle moves. If routing has shifted, restore the kit-specified routing and protection rather than adding an improvised tie point.
Treat Heat and Abrasion as Urgent Findings
Abrasion can slowly remove tubing material until failure occurs. Heat can harden rubber and plastic parts or damage protective sleeves. Contact marks, exposed reinforcement, cracking, cuts, melted tubing, or damaged heat shields require correction before load-duty use.
Do not rely on a temporary repositioning alone. Correct the cause with compatible parts and the kit documentation, or have a qualified technician assess the system.
Inspect Fittings and Test for Leaks
Most leaks occur at connections or damaged tubing. Start at the inflation valve or air source, then follow each line to every tee, elbow, compressor connection, and air spring.
Check Tubing Ends and Push-to-Connect Fittings
Inspect fittings that are loose, cracked, corroded, wet during a soap test, or surrounded by damaged tubing. Check the tubing near each connection for deep scoring, an out-of-round shape, a crooked cut, or kinks; each can prevent a proper seal.
Do not force tubing from a push-to-connect fitting or pry at its collar. Use the release procedure specified for the installed hardware. Likewise, do not assume a replacement fitting, tubing size, thread type, or sealant is compatible. Confirm the exact kit documentation and component specifications first.
Retrue provides fitment and installation information for listed RideHelper kits. Match the guide to the vehicle year, make, model, and kit before servicing or ordering parts.
Use a Controlled Soap-Solution Test
Inflate the system only within the pressure range specified for the installed kit. With the vehicle safely parked, apply a soap-and-water solution to suspected fittings, valve stems, and accessible connections. Growing bubbles indicate a leak. Wipe the area clean after testing and repeat the test after repair.
Never use a flame to locate an air leak. Do not exceed the kit’s maximum pressure to make a small leak easier to find. If an air spring bubbles, appears damaged, or repeatedly loses pressure, remove the vehicle from load-duty use until the issue is properly diagnosed and corrected.
Verify Pressure, Loading, and Clearance
Pressure is not a universal setting. Set it within the kit’s stated range for the load and vehicle instructions, then verify it with a dependable gauge. On level ground, inspect the loaded vehicle from the side and ensure cargo is secured before driving.
Air helper springs support the rear suspension under load; they do not authorize loading beyond any vehicle, axle, wheel, tire, hitch, or trailer rating. Cargo must be restrained independently of suspension setup and remain secure during braking, turns, and bumps.
Check Before and After Load Changes
When adding a trailer or significant cargo, inspect pressure and visible clearances before departure. After the first short part of the trip, stop safely and recheck the load, vehicle stance, lines, and fittings. This is especially useful after installation, a line repair, or an unfamiliar load.
If both sides share a line through a tee, understand that air can transfer side to side. That arrangement may limit side-to-side leveling and reduce some stability benefit. Follow the installed kit instructions before changing the plumbing.
Adapt the Routine for Weather and Storage
Seasonal conditions change inspection priorities. Winter brings road residue, frozen debris, and temperature swings. Summer towing increases heat exposure near exhaust and brakes. Storage can reveal small leaks before the vehicle is needed.
Winter and Wet-Weather Care
Rinse away salt, slush, and mud when practical, especially around brackets and fittings. Inspect after deep water or mud because debris can alter line routing or pack around moving components. Do not use an open flame to thaw parts; allow the vehicle to thaw safely, then inspect for displaced or damaged tubing.
Heat, Long Trips, and Storage
Before hot-weather towing, confirm heat shields are secure and lines retain their intended clearance. After a long trip, let components cool before touching them. During storage, follow the kit’s pressure and care instructions rather than choosing an arbitrary pressure. Before returning the vehicle to service, perform a visual inspection and leak test.
Frequently Asked Questions
How often should I inspect air springs and air lines?
Inspect before major towing or hauling trips, after harsh or debris-heavy use, and during regular vehicle service. Increase frequency for frequent towing, winter road treatment, or rough access roads.
What is the first sign of an air-line leak?
A persistent hiss, bubbles at a connection, repeated pressure loss, or an unexpected change in vehicle stance can indicate a leak. Confirm it with a controlled soap-solution test and inspect the full line route for rubbing or cuts.
Can I drive with a damaged air spring?
Do not continue load-duty driving with a visibly damaged air spring, an active leak, or a component contacting another part. Follow the vehicle and kit instructions and obtain professional help if the defect or repair is uncertain.
Do air helper springs increase payload or towing capacity?
No. They can assist load leveling within existing limits, but they do not increase vehicle or component weight ratings.
Should I replace a fitting with a similar-looking part?
Only after confirming exact compatibility with the installed kit. Verify tubing size, thread type, pressure requirements, installation method, and documentation; a similar-looking fitting may not seal or fit correctly.
