

Outdoor LED displays have become the backbone of modern events — from concerts and festivals to corporate gatherings and sporting events. For AV technicians working in the rental space, these displays deliver unmatched visual impact, but they also come with a unique set of challenges. Unlike permanent installations, rental outdoor LED displays must be assembled, calibrated, and dismantled repeatedly across varied environments, making reliability and efficiency non-negotiable.
Weather exposure, power logistics, structural constraints, and tight event schedules all add pressure to every deployment. A misstep during installation or a missed maintenance check can mean costly downtime in front of a live audience — a scenario no technician wants to face.
This guide is designed to walk AV professionals through every critical stage of working with rental outdoor LED displays. You’ll find practical steps for pre-installation planning, a structured installation walkthrough, guidance on navigating support services and warranty terms, and maintenance routines that extend equipment lifespan. A dedicated FAQ section also addresses the most common on-site challenges technicians encounter. Whether you’re setting up your first large-format display or refining your rental workflow, this resource gives you the tools to deliver consistent, high-performance results every time.
Pre-Installation Planning and Display Compatibility
Thorough pre-installation planning separates smooth deployments from last-minute scrambles. Start with a detailed site assessment at least 48 hours before the event. Walk the venue to identify potential weather exposure — prevailing wind direction, sun angle during show time, and drainage patterns all affect where and how you position the display. Check power access points, noting the distance from distribution panels to your planned display location, and confirm available amperage matches your load requirements. Outdoor environments frequently present grounding issues that only surface during setup, so bring a circuit tester.
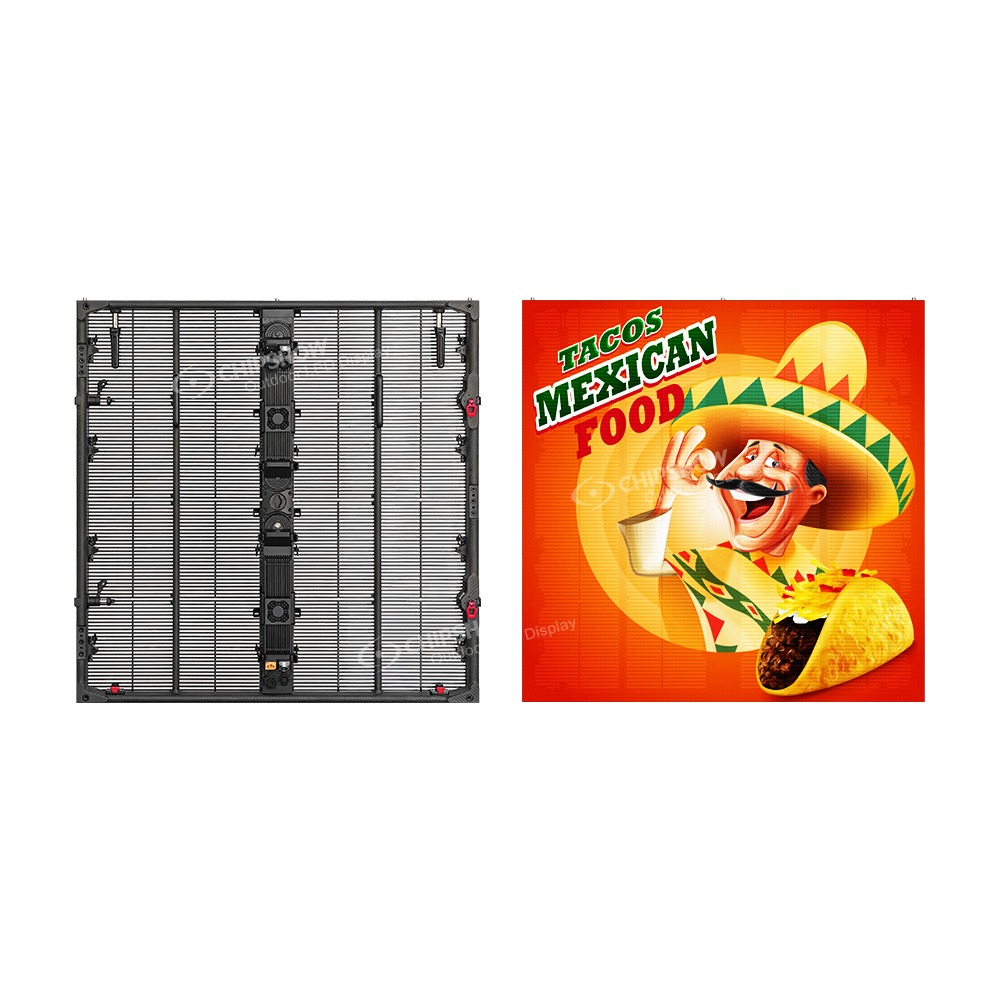
Compatibility verification is equally critical. Cross-reference the LED panels’ input specifications against your signal processors, media servers, and video switchers. Confirm that the display’s native resolution aligns with your content source to avoid scaling artifacts during the event. For modular rental panels, verify that cabinet revisions match — mixing hardware generations from the same manufacturer can cause color inconsistencies that calibration alone won’t fully resolve. Rental-focused manufacturers like Chipshow LED design their modular cabinets with revision consistency in mind, which is worth factoring into your supplier selection when long-term inventory compatibility matters.
Before finalizing logistics, review the rental agreement carefully. Confirm which accessories are included — power cables, data cables, rigging hardware — and identify any clauses around damage liability for weather-related incidents. Document the condition of each panel upon receipt with timestamped photos. This protects you during return and gives you a baseline to identify any damage that occurs during the event itself.
Step-by-Step Guide to LED Display Installation
Site Preparation and Safety Measures
Before any panel touches the ground, establish a clear perimeter around the installation zone using barriers or cones. Assign a spotter to monitor foot traffic, especially in public venues where crew and event staff share the same space. Check weather forecasts for wind speeds — most outdoor rental displays have defined wind load limits, and exceeding them without additional anchoring creates serious structural risk. Ensure every technician on the crew is wearing appropriate PPE: hard hats, steel-toed boots, and high-visibility vests are non-negotiable when working with overhead rigging or elevated structures.
Mounting and Assembly of LED Panels
Begin assembly from the ground up, locking base cabinets into the ground support system before stacking additional rows. Follow the manufacturer’s assembly sequence precisely — skipping steps to save time often results in alignment issues that are far more time-consuming to correct later. Use a laser level to verify vertical and horizontal alignment as you build each row. Torque all fasteners to the specified values; under-tightened connections loosen under vibration, while over-tightening can crack cabinet frames. For flown configurations, have a certified rigger inspect all motor points and truss connections before hoisting.
Cabling and Connectivity Setup
Route power and data cables through dedicated pathways that keep them away from high-traffic areas and standing water. Use weatherproof connectors at every external junction and apply dielectric grease to any connection exposed to moisture. Run data cables in the shortest practical path to minimize signal degradation, and always carry pre-tested spare data cables on-site. Label every cable at both ends before the event — this becomes critical during rapid teardown in low-light conditions.
Initial Power-Up and Calibration
Power up the display controller and processing hardware first, then bring the panels online in stages rather than all at once to avoid inrush current spikes. Once the display is fully active, run a full-white test pattern to identify any dead pixels or malfunctioning modules before calibration begins. Use the manufacturer’s calibration software to balance brightness uniformity across all cabinets, then adjust overall brightness relative to ambient light conditions — outdoor daytime environments typically require significantly higher nit output than evening shows. Finish with a content playback test to confirm the signal chain is clean end-to-end.
Ensuring Proper LED Display Support and Warranty Information
Understanding your support options before an issue arises is as important as knowing how to install the display itself. When renting outdoor LED panels, confirm the rental company’s support structure upfront — specifically whether they offer 24/7 technical assistance during active events, and whether that support is available by phone, remote access, or on-site dispatch. Some suppliers provide a dedicated account technician for large-scale rentals, which significantly reduces response time when something goes wrong mid-show.
Warranty terms for rental equipment differ substantially from consumer or permanent-installation products. Most rental agreements distinguish between normal wear and accidental damage, so read the fine print carefully. Pay attention to what voids coverage — exposure to rain beyond a specified IP rating threshold, improper voltage input, or unauthorized module swaps are common exclusions. When you receive the equipment, cross-reference the serial numbers on each cabinet against the rental manifest to ensure warranty coverage applies to the exact units in your possession.
When reporting a fault, document it thoroughly before attempting any fix. Capture video of the malfunction, note the error codes displayed by the controller, and record environmental conditions at the time. Submit this information alongside your support request — it accelerates diagnosis and prevents disputes over whether damage occurred before or during your rental period. Keep a written log of all support interactions, including timestamps and technician names, as this record becomes essential if a warranty claim escalates.
Maintenance Best Practices for Rental Outdoor LED Displays
Consistent maintenance is what separates rental inventory that lasts years from equipment that degrades after a handful of deployments. After every event, begin with a thorough visual inspection of each cabinet before packing — look for cracked pixel modules, bent cabinet edges, damaged connectors, and any signs of moisture ingress. Address minor issues immediately rather than deferring them to the next rental cycle, when time pressure will only make repairs harder to execute properly.
Cleaning requires a methodical approach. Use compressed air to clear dust and debris from module surfaces and ventilation channels, then wipe cabinet exteriors with a lint-free cloth lightly dampened with isopropyl alcohol. Never spray liquid directly onto panel faces or into connector ports. For displays that operated in high-humidity or coastal environments, inspect all connector housings for corrosion and replace any that show early oxidation — catching this early prevents cascading electrical failures down the line.
Software and firmware updates are a maintenance task many technicians overlook. Check the manufacturer’s support portal after every few deployments and apply available updates during off-rental periods, not the night before an event. Updated firmware often resolves color drift, improves thermal management, and patches compatibility issues with newer processing hardware.
Proper storage directly determines how long your rental inventory performs at spec. Store panels vertically in their original flight cases with foam inserts intact, in a climate-controlled environment where temperature and humidity remain stable. Stack cases only to the manufacturer’s recommended height to prevent frame stress. Before returning rented equipment, re-photograph each cabinet against the condition documented at receipt — this straightforward habit eliminates most disputes over damage liability and keeps your rental relationships running smoothly.
Frequently Asked Questions (FAQ) for AV Technicians
What should I do if panels from the same rental batch show color inconsistencies after calibration? First, confirm all cabinets share the same hardware revision — mixed generations often cause this. If revisions match, run a fresh calibration cycle using the manufacturer’s software with a gray test pattern rather than white, which reveals subtle uniformity issues more clearly. If inconsistencies persist, contact the rental supplier to swap suspect units before the event.
How do I handle a data signal dropout mid-show? Swap the data cable between the controller and the first cabinet immediately — this is the most common failure point. Keep pre-tested spare data cables within arm’s reach during every event. If swapping the cable doesn’t resolve it, check the controller’s output port for bent pins and restart the signal processor before escalating to the rental company’s live support line.
What qualifies as accidental damage versus normal wear under most rental warranties? Normal wear typically covers minor pixel dimming and cosmetic scuffs from repeated assembly. Cracked modules, water ingress beyond the panel’s rated IP level, and connector damage from incorrect cable insertion generally fall under accidental damage and may incur charges. Always review the rental agreement’s damage clause before deployment.
Where can technicians find additional troubleshooting resources? Most manufacturers maintain online support portals with firmware downloads, calibration guides, and error code libraries. Industry forums such as AVIXA’s community platform and ProSoundWeb are also practical resources for peer-sourced solutions to uncommon on-site problems.
Building a Reliable Rental LED Display Workflow
Deploying rental outdoor LED displays successfully comes down to disciplined preparation, precise execution, and consistent follow-through. From the initial site assessment and compatibility checks to structured assembly, calibration, and post-event maintenance, each stage builds on the last. Skipping steps or cutting corners under time pressure is where most preventable failures originate — and in live event environments, those failures carry real consequences.
Understanding your support options and warranty terms before an issue arises gives you a clear path forward when something goes wrong mid-show. Equally, building maintenance into your workflow after every deployment — rather than treating it as optional — is what keeps rental inventory performing at spec across dozens of events rather than just a few.
The practices outlined in this guide are designed to be immediately applicable, whether you’re managing a single-screen corporate event or a multi-display festival setup. Apply them consistently, document your work thoroughly, and build relationships with rental suppliers who prioritize responsive technical support.
For continued development, explore manufacturer training programs, engage with professional communities like AVIXA, and stay current with firmware updates and evolving display technologies. The AV rental landscape moves quickly — technicians who invest in ongoing learning are the ones clients call back.