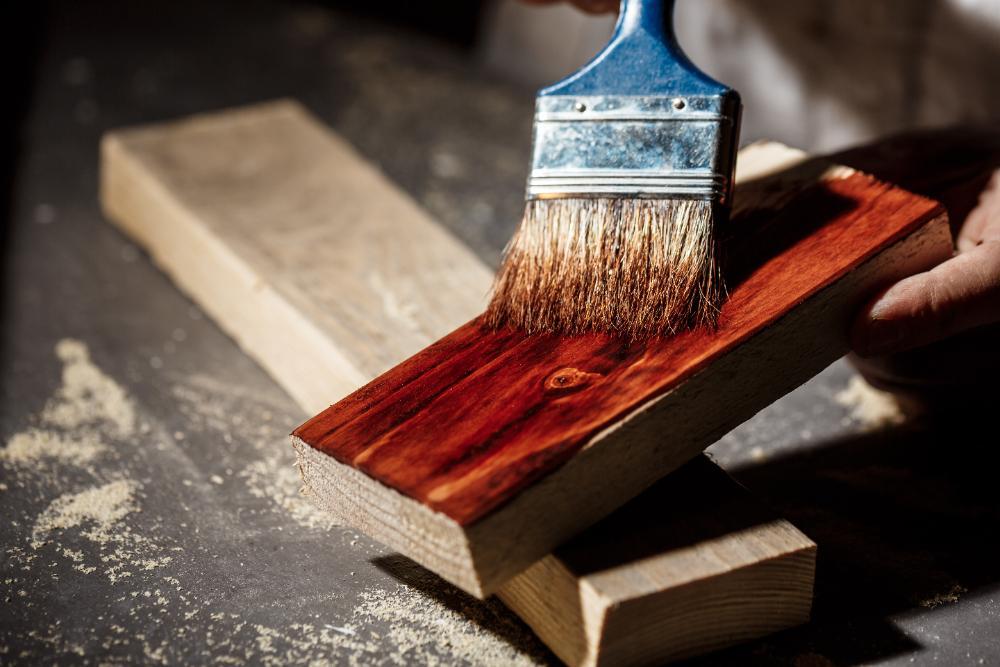
Using wood primer and enamel correctly is key to achieving a smooth, long-lasting finish on hardwood surfaces. Primer creates a solid base for better adhesion, while enamel adds a durable, polished look. When applied properly, this combination not only enhances the wood’s appearance but also increases its resistance to wear and tear. Let’s dive into the essential steps for the best results.
Step 1: Preparing the Wooden Surface
Start by sanding the wood with fine-grit sandpaper to remove rough spots. A smooth surface allows the wood primer and enamel to adhere evenly. Sanding also helps to open up the wood’s pores, which improves the primer’s penetration. After sanding, clean off any dust with a damp cloth or tack cloth to ensure a clean surface for the primer. This step is crucial, as leftover particles can affect the final finish.
Step 2: Applying Wood Primer
After sanding, apply a thin coat of wood primer to prevent excessive paint absorption and ensure a strong bond for the enamel. Choose a primer designed for wood and allow it to dry completely.
Using a wood primer enhances durability and helps reduce the amount of enamel needed to make it cost-effective.
Step 3: Light Sanding After Priming
After the primer dries, lightly sand the surface again to smooth out any raised grain. This step ensures a sleek finish for the final coat and helps remove any uneven primer buildup. Be gentle during this process, as aggressive sanding may strip off the primer. Once sanding is complete, wipe away any residual dust to maintain the surface’s readiness for enamel application.
Step 4: Applying Enamel
Now, it’s time to apply the enamel. One highly recommended option is JK Enamelo Synthetic Enamel, a premium, hard-drying enamel that’s water and stain-resistant with high gloss retention. Its strong adhesion makes it ideal for metals, wood, and plaster, providing a challenging, glossy finish that lasts.
Start with a thin coat, let it dry, and apply a second coat for that perfect finish if necessary! While enamel price often reflects the quality and durability of the finish, investing in premium enamel can lead to a long-lasting result. Apply a thin coating of enamel in even layers.
Step 5: Drying and Final Touches
Allow the enamel coating to dry thoroughly to achieve its hard, glossy and opaque finish. Enamel paints take longer to dry compared to other paints, often requiring 6 to 8 hours to be touch-dry. Avoid touching the surface during this time to prevent smudges or imperfections and provide proper ventilation for smooth results.
Conclusion
Following these steps, you can achieve a stunning, durable finish on any wooden surface. The combination of wood primer and enamel provides protection and visual appeal, making it worth the effort and investment for lasting quality.
