

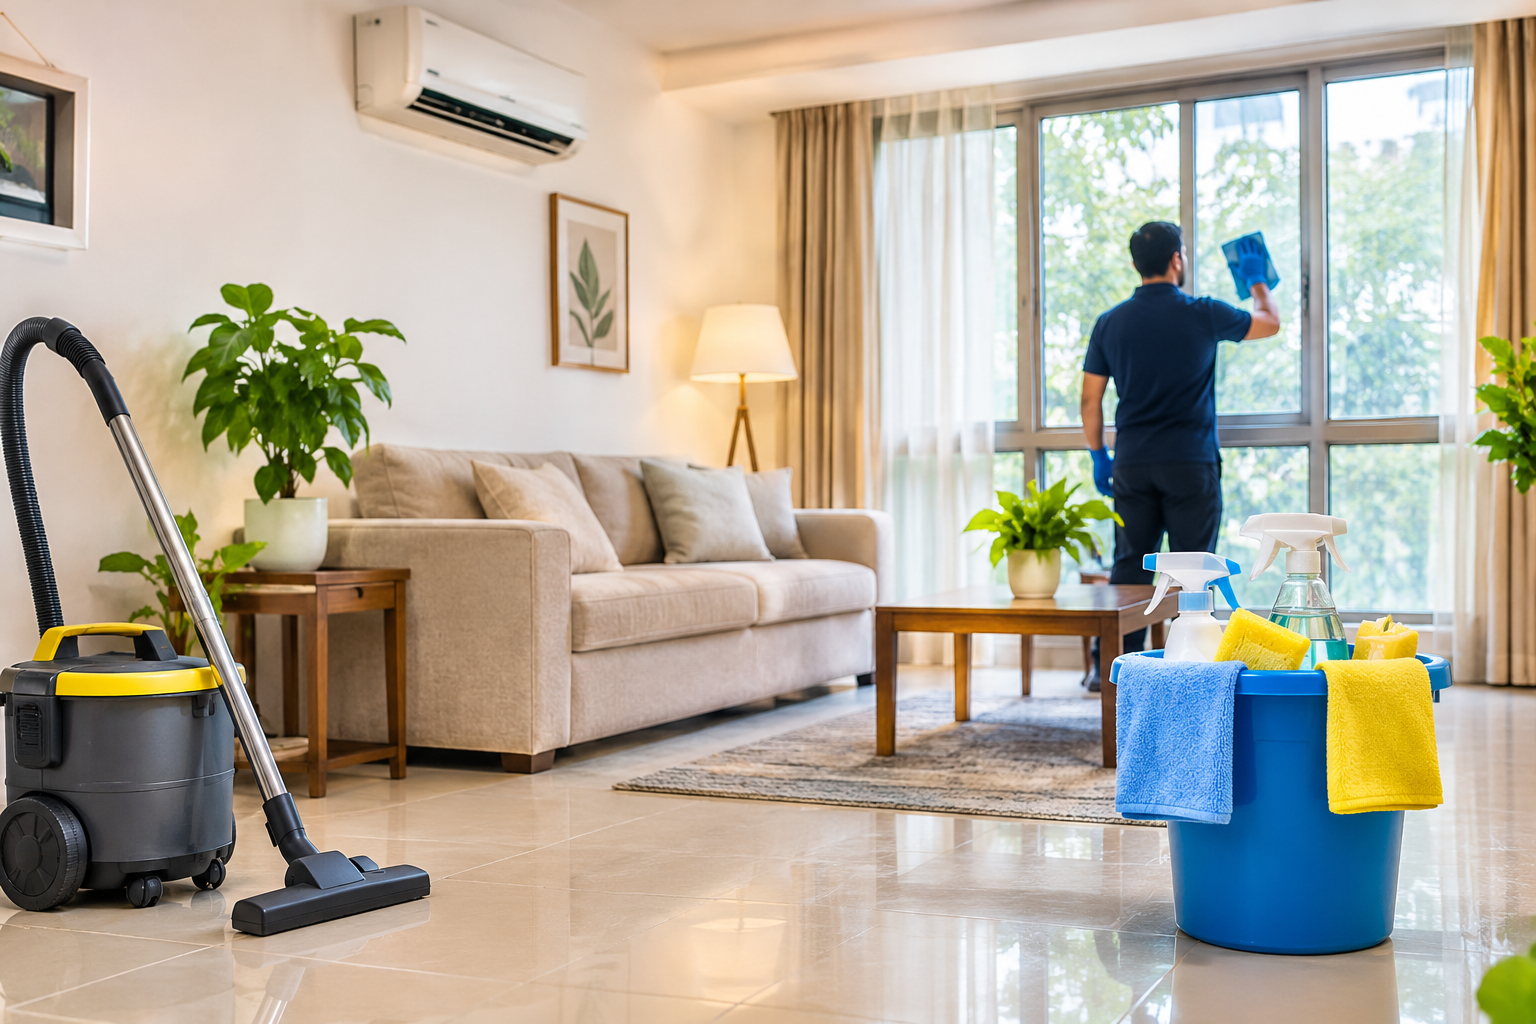
Regular cleaning helps keep your home tidy, but some areas need more attention than everyday sweeping and dusting can provide. Grease collects around kitchen cabinets, soap residue builds up in bathrooms, and dust settles on skirting boards, window tracks, and other overlooked surfaces.
A proper deep clean focuses on these neglected areas and gives you a practical way to work through your home without feeling overwhelmed.
The easiest approach is to clean one room at a time, follow the correct order, and use products suitable for each surface. Whether you live in a small apartment or a large family home, this room-by-room guide will help you organise the work and clean more efficiently.
Prepare Your Home Before You Start
Before opening your cleaning products, spend a few minutes preparing your space. Good preparation prevents unnecessary interruptions and helps you avoid cleaning the same area twice.
Gather the essential cleaning supplies
Keep your basic supplies together in a bucket or cleaning caddy. Depending on your home’s surfaces and requirements, you may need:
- Microfibre cloths for dusting and wiping surfaces
- A vacuum cleaner with suitable attachments
- A mop and an appropriate floor-cleaning solution
- A soft-bristled brush and a small detailing brush
- Dishwashing liquid or a suitable general-purpose cleaner
- A bathroom cleaner compatible with your fixtures
- A kitchen degreaser suitable for the affected surfaces
- Rubber gloves and clean water
- Bin bags and a separate laundry basket
You do not need a different product for every surface. However, avoid assuming that one cleaner is suitable for everything. Always read the label and check the manufacturer’s care instructions for delicate materials.
Important: Never mix cleaning chemicals. In particular, bleach must never be mixed with acids, including vinegar, or ammonia-based products because dangerous gases can be released.
Declutter before cleaning
Remove rubbish, collect laundry, put away loose belongings, and clear countertops where possible. This makes the actual cleaning easier and gives you access to surfaces that might otherwise remain covered.
Work from top to bottom. Dust ceiling fans and accessible high surfaces first, then clean furniture and countertops before finishing the floors. This prevents falling dust from settling on areas you have already cleaned.
Deep Clean the Living Room
Living rooms collect dust from daily activities, open windows, upholstery, and foot traffic. They often look clean at first glance while dirt remains in corners and around furniture.
Follow this checklist
Step 1: Remove loose dust. Dust accessible shelves, lampshades, picture frames, skirting boards, and furniture surfaces. Use a suitable attachment for ceiling fans and other high surfaces, taking care to avoid unstable ladders.
Step 2: Clean frequently touched areas. Wipe door handles, light switches, remote controls, and table surfaces with a product compatible with the material. Follow any required contact time when using a disinfectant.
Step 3: Pay attention to upholstery. Vacuum sofas and chairs using an attachment suitable for the fabric. Check the care label before attempting stain removal or wet cleaning. Delicate upholstery may require a specialised method.
Step 4: Clean glass and mirrors. Use a suitable glass cleaner and a clean cloth. Avoid spraying liquid directly onto electronic devices or delicate wooden frames.
Step 5: Finish with the floor. Vacuum corners and accessible areas beneath furniture before mopping hard floors with a compatible cleaning solution.
Do not overlook these areas
- Spaces behind movable furniture
- Window tracks and accessible window sills
- Sofa crevices and cushion edges
- Skirting boards and corners
- Areas around television stands and electrical equipment
Move heavy furniture only when it is safe to do so. There is no need to risk an injury or damage a floor just to reach an inaccessible area.
Deep Clean the Kitchen
Kitchens require particular attention because cooking produces grease, food residue, and moisture. These materials can accumulate around frequently used appliances and work surfaces.
Start with the cabinets and countertops
Remove loose items from the countertop and wipe away crumbs. Clean cabinet exteriors using a product suitable for the finish. Grease around cooking areas may require a compatible degreaser and some gentle wiping.
Avoid soaking wooden cabinets or allowing cleaning liquid to collect around joints and edges. Excess moisture can damage some finishes.
For stubborn grease, follow the product instructions and allow the recommended contact time. Use a soft cloth or non-abrasive sponge rather than a harsh scouring pad that could scratch the surface.
Clean the sink and taps
Remove food debris from the sink and clean the basin with a suitable product. Pay attention to the edges around the tap and the drain area.
Hard-water deposits may need a product specifically intended for mineral buildup. Do not use acidic cleaners on natural stone or other acid-sensitive materials unless the manufacturer explicitly confirms compatibility.
Give appliances some attention
Wipe the outside of the refrigerator, microwave, oven, and other appliances according to their care instructions. Clean removable components only when the manufacturer permits it.
For a microwave, use an appliance-safe method to loosen food residue before wiping the interior. Disconnect appliances before cleaning any areas where the manufacturer’s instructions require it.
For ovens, check the manufacturer’s cleaning instructions before using a chemical oven cleaner or self-cleaning function.
Kitchen deep-cleaning checklist
- Remove crumbs and loose food debris.
- Wipe cabinet exteriors and handles.
- Clean countertops and the backsplash.
- Clean the sink and taps.
- Wipe appliance exteriors.
- Clean accessible corners and floor edges.
- Finish by cleaning the floor.
Cleaning inside cabinets, degreasing the chimney, or removing heavy appliance buildup may require extra time and specialised products. Include these tasks in your plan rather than assuming they are part of every standard cleaning session.
4. Deep Clean the Bathroom
Bathrooms experience frequent moisture, which contributes to soap residue, water marks, and deposits on fixtures. Good ventilation and regular maintenance help prevent these problems from becoming difficult to manage.
Clean from the top down
Begin by removing personal items from the countertop and shower area. Dust or wipe accessible upper surfaces before moving to mirrors, shelves, fixtures, and the floor.
Clean mirrors with a suitable glass product. Wipe countertops and taps using cleaners compatible with the material. For shower walls and tiles, select a product appropriate for the tile and grout.
Focus on soap residue and mineral deposits
Soap residue and mineral deposits are not always the same problem. Soap buildup may respond to a suitable bathroom cleaner, while mineral deposits may need a different product.
Read the label before applying a descaler. Some natural stones and metal finishes can be damaged by acidic products.
Use a soft brush to clean grout where appropriate, and avoid aggressive scrubbing that could damage the grout or surface. Rinse or wipe away residues according to the product instructions.
Clean the toilet carefully
Use a toilet cleaner designed for the fixture and follow its instructions. Use a dedicated toilet brush and avoid using the same cloth for the toilet and other bathroom surfaces.
Disinfectant products should be used only as directed. More product does not automatically mean better cleaning.
Bathroom checklist
- Clean the mirror and accessible shelves.
- Wipe the sink, taps, and countertop.
- Clean the shower area and compatible tile surfaces.
- Address soap residue and water deposits appropriately.
- Clean the toilet using dedicated supplies.
- Wipe door handles and other frequently touched surfaces.
- Finish with the floor and allow the room to dry.
Keep the bathroom ventilated during and after cleaning, following the instructions for the products you use.
5. Deep Clean Bedrooms
Bedrooms may appear less demanding than kitchens and bathrooms, but they contain several areas where dust and everyday debris collect.
Begin by changing the bed linen and placing used bedding in the laundry basket. Follow the care labels when washing sheets, pillowcases, and blankets.
Dust bedside tables, wardrobes, shelves, lamps, and accessible furniture surfaces. Clean mirrors and wipe door handles. If the room has upholstered furniture, vacuum it using an appropriate attachment.
Vacuum the mattress only if the care instructions permit it. Avoid applying liquids or household cleaning mixtures directly to a mattress unless the manufacturer recommends that method.
Bedroom checklist
- Change and wash bed linen.
- Dust accessible furniture and shelves.
- Clean mirrors and suitable glass surfaces.
- Wipe door handles and light switches.
- Vacuum suitable upholstery and accessible floor edges.
- Clean beneath movable furniture where safe.
- Finish by vacuuming or mopping the floor.
If you have pets, pay particular attention to areas where hair accumulates. A suitable vacuum attachment can make removing loose hair easier.
6. Clean Windows, Doors, and Overlooked Areas
Once the main rooms are complete, move on to details that are often missed during everyday cleaning.
Window tracks can collect dust and debris. Vacuum loose dirt first, then wipe the track with a suitable cloth and cleaning solution. Avoid flooding the area with water, especially near drainage openings or wooden frames.
Wipe door handles, accessible door surfaces, and skirting boards. Check corners behind doors and around furniture for accumulated dust.
If you are cleaning blinds or curtains, check the manufacturer’s care instructions before washing or applying cleaning products. Some materials require specialised cleaning.
A small detailing brush can help reach narrow gaps, but avoid using sharp tools that could scratch surfaces or damage seals.
7. Choose the Right Cleaning Products for Each Surface
One of the most common cleaning mistakes is choosing a product based only on how powerful it sounds. The correct product depends on the type of dirt, the material being cleaned, and the manufacturer’s recommendations.
For example, a degreaser may be appropriate for certain kitchen surfaces but unsuitable for delicate finishes. An acidic descaler may help with mineral deposits on compatible surfaces but can damage natural stone.
Before using an unfamiliar product:
- Read the label and safety instructions.
- Check whether it is suitable for the surface.
- Test it on a small, inconspicuous area when appropriate.
- Use the recommended amount and contact time.
- Rinse or wipe away residue as directed.
Wear appropriate protective equipment, keep chemicals away from children and pets, and never mix products. If you are unsure how to clean a valuable or delicate surface, consult the manufacturer or a qualified cleaning professional.
8. How Often Should You Deep Clean Your Home?
There is no single schedule that suits every household. The right frequency depends on the number of occupants, pets, cooking habits, ventilation, local dust levels, and how frequently rooms are used.
A practical starting point is to maintain high-use areas regularly and plan deeper cleaning when buildup becomes noticeable.
| Area | Routine maintenance | Deeper attention |
| Kitchen | Wipe work surfaces after use | Clean grease-prone areas as needed |
| Bathroom | Wipe wet surfaces and ventilate | Address accumulated residue and deposits |
| Living room | Dust and vacuum regularly | Clean upholstery and overlooked corners |
| Bedroom | Change bedding and tidy surfaces | Clean beneath furniture and suitable upholstery |
| Windows and tracks | Remove visible dust | Detail tracks and frames when needed |
Treat this as a flexible guide rather than a rigid timetable. A busy kitchen may need more frequent attention than a guest bedroom that is rarely used.
9. When Should You Consider Professional Deep Cleaning?
DIY cleaning is suitable for many everyday tasks, but larger properties or heavily soiled areas can require more time, equipment, and specialised methods.
Professional help may be useful when you are moving into a new home, preparing a property for tenants, dealing with extensive grease buildup, or arranging a comprehensive clean before a special occasion.
Before booking a service, ask which rooms and tasks are included, whether cleaning products and equipment are provided, and whether additional charges apply to appliances, upholstery, or difficult stains.
For homeowners exploring home deep cleaning services in Delhi, DryClean Masters provides a starting point for reviewing residential cleaning options. Confirm the latest service scope, availability, and quotation directly with the provider before making a booking.
Final Thoughts
Deep cleaning becomes more manageable when you divide the work into smaller tasks and follow a consistent order. Start by preparing the home, work from top to bottom, choose products suited to each surface, and finish with the floors.
Most importantly, do not confuse stronger chemicals with better results. Safe product selection, appropriate tools, and enough time to complete each task are what make a cleaning routine effective.
Use this checklist as a starting point and adapt it to your home’s size, materials, and daily needs. A practical, consistent approach can help you maintain a cleaner and more comfortable living space without turning every cleaning session into an exhausting project.
