
You’ve hiked for hours to reach a breathtaking overlook, the golden hour light is fading fast, and you press the shutter only to find your image hopelessly blurred. It’s a frustration every hiking photographer knows too well — and one that a reliable tripod can eliminate entirely. But here’s the challenge: most tripods that offer rock-solid stability are either too heavy to carry on a long trail or too expensive for photographers who aren’t ready to invest hundreds of dollars in a single accessory. Finding that sweet spot where lightweight portability, dependable stability, and genuine affordability intersect can feel nearly impossible. That’s exactly what this guide is designed to solve. Whether you’re capturing sweeping landscapes at dawn or long exposures beside a mountain stream, the right tripod transforms your results without weighing down your pack or draining your wallet. In the sections ahead, we’ll break down the essential features to look for, highlight top affordable options on the market, and walk you through a practical step-by-step process for choosing the perfect hiking tripod tailored to your needs.
Why Hiking Photographers Demand Specialized Tripods
Hiking photography presents a fundamentally different set of demands than studio or even casual outdoor shooting. When you’re miles into a trail, every ounce in your pack matters — a heavy tripod quickly becomes the first piece of gear left behind, which means missed shots and creative compromises. But weight isn’t the only concern. Trails rarely offer flat, predictable surfaces. Rocky ridgelines, muddy slopes, and narrow ledges require a tripod that can adapt to wildly uneven terrain while still holding your camera perfectly steady. Wind at exposed summits can turn a flimsy tripod into a liability, and moisture from stream crossings or sudden rain showers can corrode lesser-built equipment in a single season. A standard photography tripod simply isn’t engineered for these conditions. Hiking photographers need gear purpose-built to handle the unpredictability of the backcountry — sturdy enough to deliver sharp long exposures on a windswept ridge, yet light and compact enough that carrying it over ten miles of switchbacks doesn’t feel like a punishment. That intersection of rugged stability and trail-ready portability is what separates a specialized hiking tripod from everything else on the market, and understanding these demands is the first step toward making a smart purchase.
Essential Tripod Features for the Trail
Not all tripod features matter equally when your shooting location requires a five-mile hike to reach. Trail-ready tripods demand a specific combination of characteristics that keep your pack manageable and your images sharp, regardless of conditions.
Weight and Portability: The Hiker’s Priority
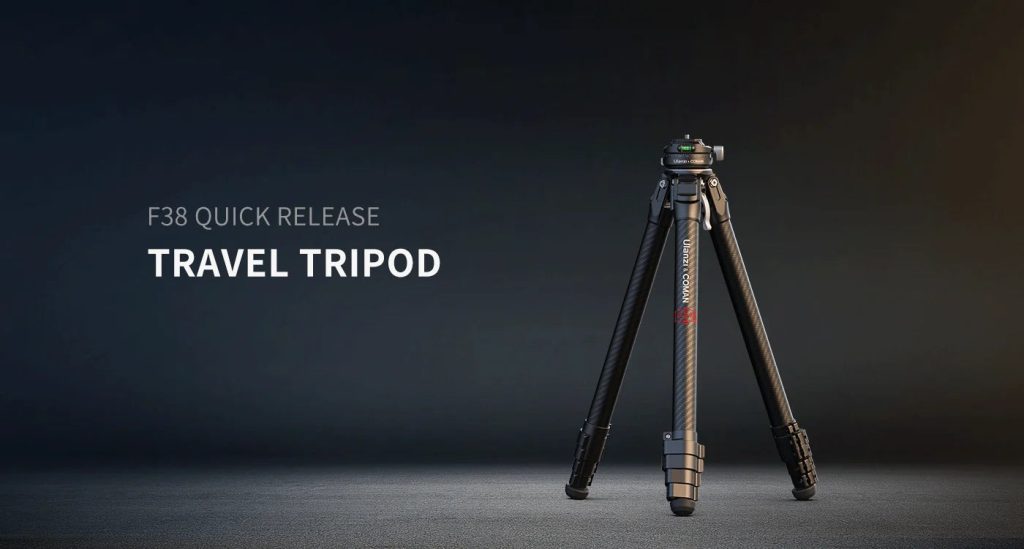
Material choice drives everything. Carbon fiber tripods typically weigh 20–30% less than their aluminum counterparts, making them the preferred option for long treks — though aluminum models have closed the gap significantly in recent years and remain far more budget-friendly. Beyond raw weight, look for designs that fold down to 16 inches or less, fitting neatly inside or alongside a daypack. Reverse-folding leg designs, where the legs wrap around the center column, shave several inches off the collapsed length without reducing extended height.
Stability and Build Durability
Leg lock systems come in two primary styles: twist locks and lever (flip) locks. Twist locks tend to be lighter and more streamlined, while lever locks offer faster, more intuitive operation with gloved hands. Whichever you choose, confirm the tripod’s load capacity exceeds your camera-and-lens combination by at least 50% — this margin accounts for wind gusts and vibration. Weather-sealed joints and anodized finishes resist moisture and grit, extending the tripod’s lifespan through seasons of backcountry use.
Ease of Setup and Adjustability
When light is disappearing, fumbling with your tripod costs you the shot. Quick-release plates let you mount and dismount your camera in seconds, and independently adjustable leg angles — typically offering three spread positions — allow you to plant the tripod securely on slopes, between rocks, or at the edge of a cliff. A removable center column that converts to a short column or ground-level spreader adds versatility for macro work on the forest floor without carrying extra equipment.
The Benefits of a Compact Folding Tripod
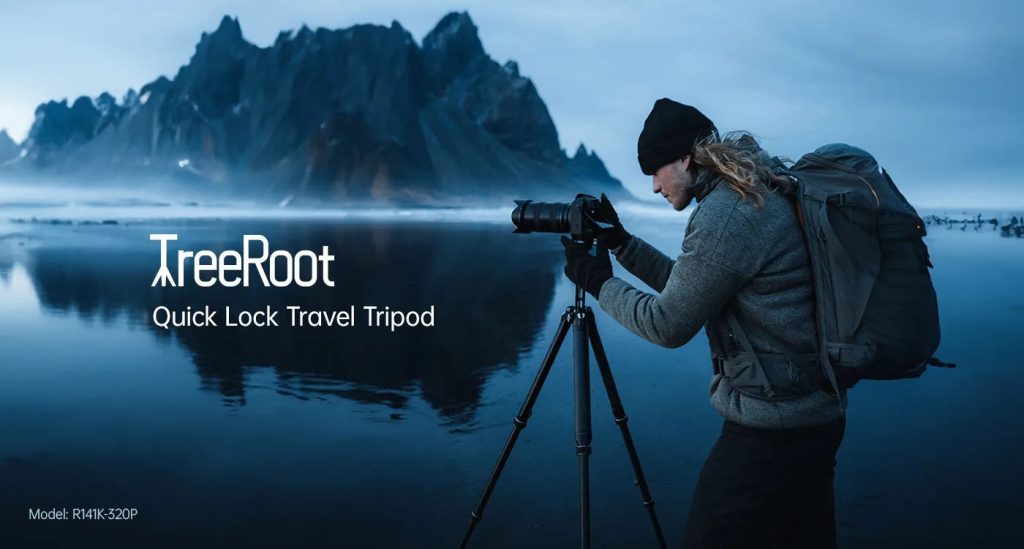
A compact folding tripod solves the single biggest reason photographers leave their support gear at home: bulk. Modern folding designs collapse to roughly the length of a water bottle, tucking into a side pocket or slipping inside your pack without reorganizing everything else you’re carrying. The reverse-fold mechanism, where legs wrap tightly around the head and column, eliminates wasted space between components and often shaves three to five inches off the stored length compared to traditional straight-fold models. This matters more than it sounds — on a scramble-heavy route, a tripod that protrudes from your pack catches on branches and rocks, throwing off your balance. Beyond packability, today’s compact folding tripods haven’t abandoned performance. Engineers have refined hinge joints and locking mechanisms so that a tripod folding down to 14 inches can still extend past 50 inches and support meaningful payloads. The travel-friendly form factor also means you’re far more likely to actually bring the tripod along on spontaneous day hikes, which translates directly into more keeper images over time. Portability you’ll actually use consistently beats theoretical stability sitting in your closet.
Maximizing Camera Gear Stability in Outdoor Conditions
Owning a capable tripod is only half the equation — how you deploy it in the field determines whether your images come out tack-sharp or subtly soft. Camera gear stability starts with reading the ground beneath your feet. On a slope, point one leg downhill and the remaining two uphill, creating a wider base that resists the pull of gravity. Shorten the downhill leg and lengthen the uphill pair until the center column sits roughly vertical; a bubble level on your ball head confirms this faster than eyeballing it. When wind picks up on an exposed ridge, hang your backpack from the tripod’s center column hook. This added mass lowers the center of gravity and dampens vibrations that would otherwise creep into long exposures. Many budget tripods include this hook, yet most photographers never use it — a missed opportunity for free stability. On soft or slippery surfaces like wet rock, loose gravel, or packed snow, rubber foot pads can slide unpredictably. Swap them for spiked feet, which bite into terrain and anchor each leg in place. Several affordable tripods ship with reversible feet that toggle between rubber and spike modes without tools. Finally, avoid extending the thinnest bottom leg sections unless you genuinely need the extra height. Each successive section reduces rigidity, so using only the thicker upper segments keeps the entire setup more resistant to shake. Combine these techniques with a remote shutter release or your camera’s self-timer, and you eliminate the last common source of movement — your own hand pressing the button.
Top Picks: Affordable Tripods for Budget-Conscious Hikers
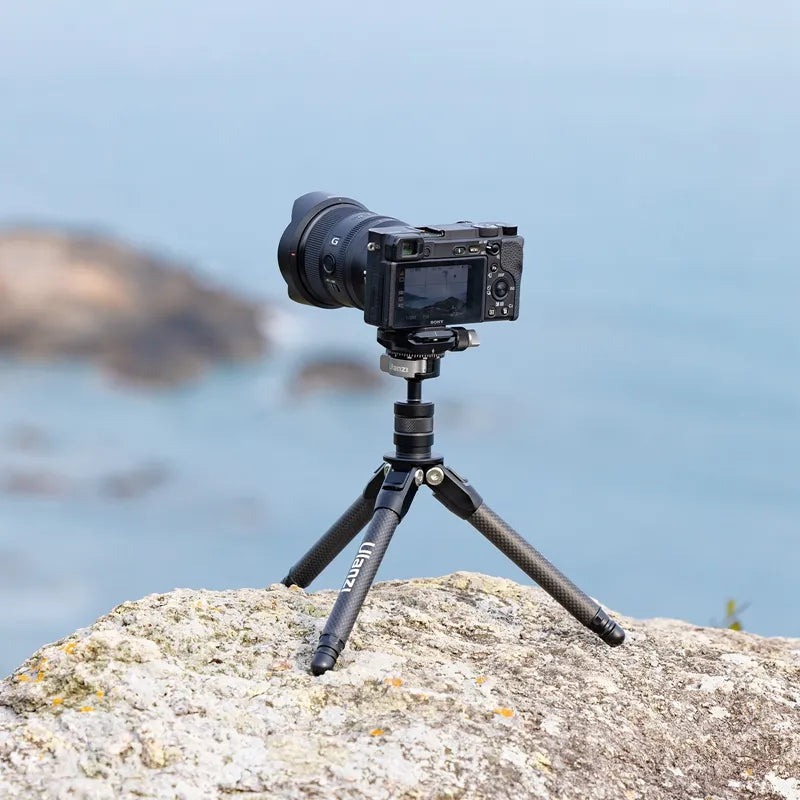
The market for affordable tripods has matured dramatically, and several models now deliver genuine hiking performance without demanding a premium investment. The ZOMEI Z669C stands out as a carbon fiber option that undercuts most competitors in its class. It folds to around 15 inches, weighs just over three pounds, and handles payloads well suited to mirrorless and mid-size DSLR setups. Its twist-lock legs operate smoothly, though some users note they require occasional retightening after heavy use in dusty conditions. For photographers who prefer aluminum and want to spend even less, the Neewer N555 offers a compelling package — a reverse-folding design, built-in center column hook, and lever locks that work effortlessly with gloves. It’s heavier than carbon alternatives, but its ruggedness on rocky terrain is hard to fault at its price point. The PHOPIK 77-inch tripod appeals to those who need extra height for shooting over trail obstacles or vegetation, and it includes reversible rubber-to-spike feet out of the box. Its folded length runs slightly longer than ultracompact models, so it’s better suited to external pack mounting. Brands like Ulanzi have also expanded their travel tripod lineup with compact, lightweight options that cater to hiking photographers looking for a balance of portability and solid build quality at accessible price points. Meanwhile, the Amazon Basics 60-inch lightweight tripod serves as a solid entry point for casual hikers testing whether they’ll actually carry a tripod consistently before committing to a higher-tier model. Each of these affordable tripods addresses the stability-portability balance differently, so the best choice depends on whether you prioritize packed size, maximum height, weight savings, or pure durability. Reading user reviews from fellow hikers — not just studio photographers — provides the most relevant real-world feedback before you buy.

Step-by-Step Guide to Choosing Your Perfect Hiking Tripod
Start by honestly assessing how you shoot in the field. Do you favor long exposures at dawn, or are you grabbing quick compositions during rest stops? Your shooting style dictates whether maximum stability or rapid deployment matters more. Next, set a realistic budget — most hikers find excellent performance in the mid-range without needing to stretch into premium territory, and the affordable tripods available today handle far more than their price tags suggest. With your budget defined, compare the tripod features that directly affect your experience: weigh packed size against extended height, check load capacity against your heaviest lens pairing, and decide whether carbon fiber’s weight savings justify the cost difference over aluminum. Before purchasing, read trail-specific reviews from hikers who’ve carried the tripod over real mileage rather than relying solely on studio-based assessments. If possible, visit a local retailer to feel the leg locks, test the folding mechanism, and gauge the collapsed size against your actual pack. Finally, make your decision by balancing all factors together — no single spec should dominate. The tripod that travels with you on every hike will always outperform the “perfect” one that stays home because it’s too heavy or too bulky.
Sharper Summit Shots Start with the Right Gear
The right tripod transforms hiking photography from a game of chance into a reliable craft — sharp images become the norm rather than the exception, even in challenging backcountry conditions. Throughout this guide, we’ve established that hiking photographers need specialized gear built to handle uneven terrain, unpredictable weather, and the relentless weight constraints of trail life. The essential tripod features worth prioritizing — lightweight materials, robust leg locks, quick-release systems, and adaptable leg angles — directly address these demands without requiring a massive financial commitment. Compact folding designs have eliminated the old excuse that tripods are too bulky to carry, and proper field techniques like hanging weight from the center column or using spiked feet multiply the stability you get from any model. The affordable tripods available today prove that budget-conscious hikers no longer need to choose between their wallet and their image quality. Take the step-by-step approach outlined here: know your shooting style, set a honest budget, compare the specs that genuinely matter on the trail, and commit to the tripod you’ll actually carry. Your next golden hour summit shot deserves more than a shaky handheld attempt — and now you have the knowledge to make sure it gets exactly that.