

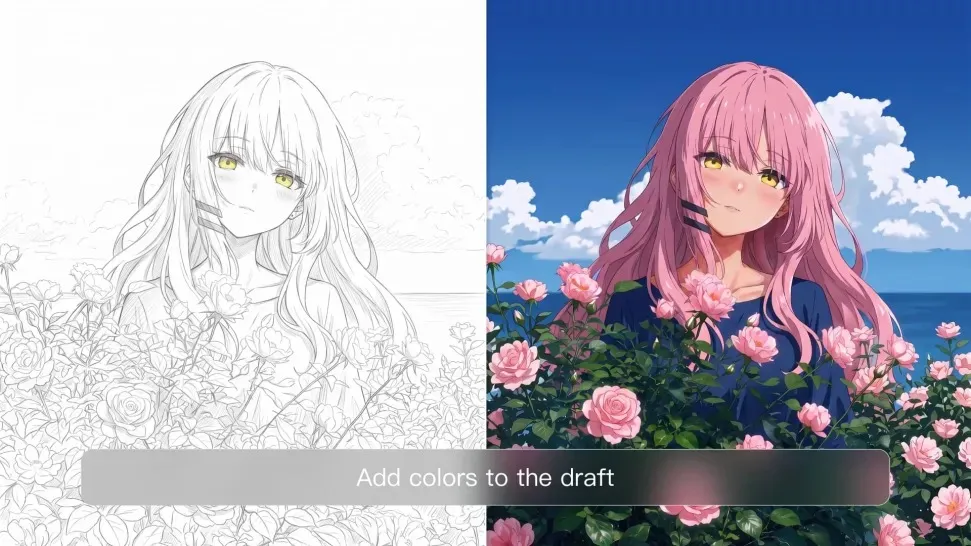
Some photographs are the only record of a moment, and they are often the softest ones: a moving child, a dim room, a camera that was not quite steady. The good news is that softness is repairable in stages, and the stages have an order. Sharpen too early and the artefacts are locked in. Enlarge before the blur is handled and the edges smear. Do it in the right sequence and a photograph that was heading for a drawer can be printed and framed. The limit is information rather than resolution, which is why the order of operations decides the outcome.
Sharpen Without Halos
Deblur Before Sharpening
Blur and softness are different problems. Blur has a direction, caused by movement or focus, while softness is uniform. Deblurring first estimates and reverses that direction, which is why it should come before any sharpening. Sharpen a blurred image and the result is a hard edge around a soft subject, which looks worse than the original. One pass of deblurring, then a light sharpen, is the correct order, and it is the first thing an ai photo editor should make easy. Check the original for movement first, because a directional blur needs a different correction from a soft lens. Judge the result on a face rather than a landscape, because skin shows a halo more readily than sky. A face also tells you when the repair has gone too far, because a stranger’s skin is easy to recognise as wrong.
Edge Protection
Sharpening should apply to detail and not to noise. Look for a control that protects flat areas such as sky or skin, so the grain does not turn into speckle. The tell-tale sign of over-sharpening is a bright fringe along a dark edge, which is easy to spot against a window or a silhouette. Zoom in, check one high-contrast edge, and ease off until the fringe disappears. A slightly soft result is always better than a crisp one with a white outline around every edge. If the edges look clean but the surface looks noisy, the problem is sharpening rather than deblurring. Zoom to the point where the fringe would appear, which is usually a dark edge against a bright area, and it will tell you instantly whether the sharpening was too strong.
Upscale and Keep Detail
Two-Times Enlargement
Doubling the size is usually safe; quadrupling it in one step rarely is. Upscaling in stages lets the reconstruction work with a cleaner input each time, and it keeps the result from turning into a painting. For most family photographs, two steps are enough to reach a printable size. If the image starts very small, accept a more modest target and print it smaller rather than inventing detail that was never recorded. Write the target size down before you start, so the enlargement stops when the purpose is met. Keep the intermediate file, because a second enlargement from the first is often better than a single large step.
Texture Reconstruction
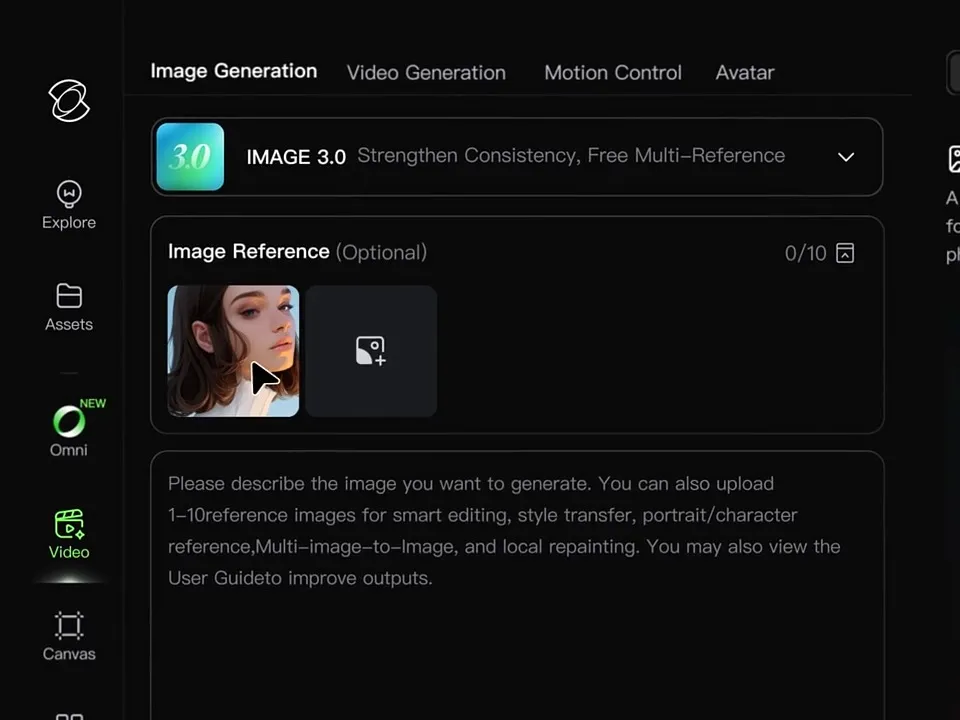
A good upscale rebuilds plausible texture rather than smoothing everything into plastic: fabric, hair and foliage keep their character even if the exact strands are invented. Enlarging is where that matters most, and it is what separates a reconstruction from an interpolation. Kling’s IMAGE 3.0 Omni rebuilds texture at the larger size from the picture’s own logic, telling fabric from noise and hair from grain, and outputs at native 4K rather than stretching what survived. Check a patch of grass and a patch of skin at the new size: grass should still look like separate blades, skin should still vary, and nothing should collapse into one smooth surface at twice the size. That is the difference between a print and a bigger file.
Fix the Small Things
Faces and Text First
Faces carry the memory and text carries the information, so repair those areas first and leave the rest alone. A sharp face in a slightly soft frame reads as a photograph; a sharp frame with a soft face reads as a mistake. If the image contains a sign or a document, treat the lettering as a separate repair, because reconstruction tends to invent characters that look plausible and say nothing. Repair text last, and only if it matters to the story the photograph is telling. Text that has been reconstructed wrongly is worse than text that is simply soft.
Noise and Compression Clean-Up
Old files carry two kinds of damage: grain from the film and blocks from the compression. Both should be reduced before the final sharpening, and both should be reduced gently, since noise removal is the fastest way to lose the texture you just recovered. Work in small increments and compare against the original at actual size, which is the only place the difference is honest. Restoring detail is the same kind of task, and the order protects it: clean the noise first, then let the reconstruction add back what the damage took away. Describe what is missing rather than what is there, and the repair stays inside the photograph’s own logic.
Conclusion
Deblur, enlarge, then repair the details in that order, and a soft photograph becomes a usable one. The goal is not a perfect file, it is a print that holds on a wall. Done in stages, an old picture keeps its character; done in one click, it keeps only its subject. Stage it, check it at actual size, and stop when it prints well. An old photograph needs character more than it needs sharpness, and the stages protect exactly that.
