

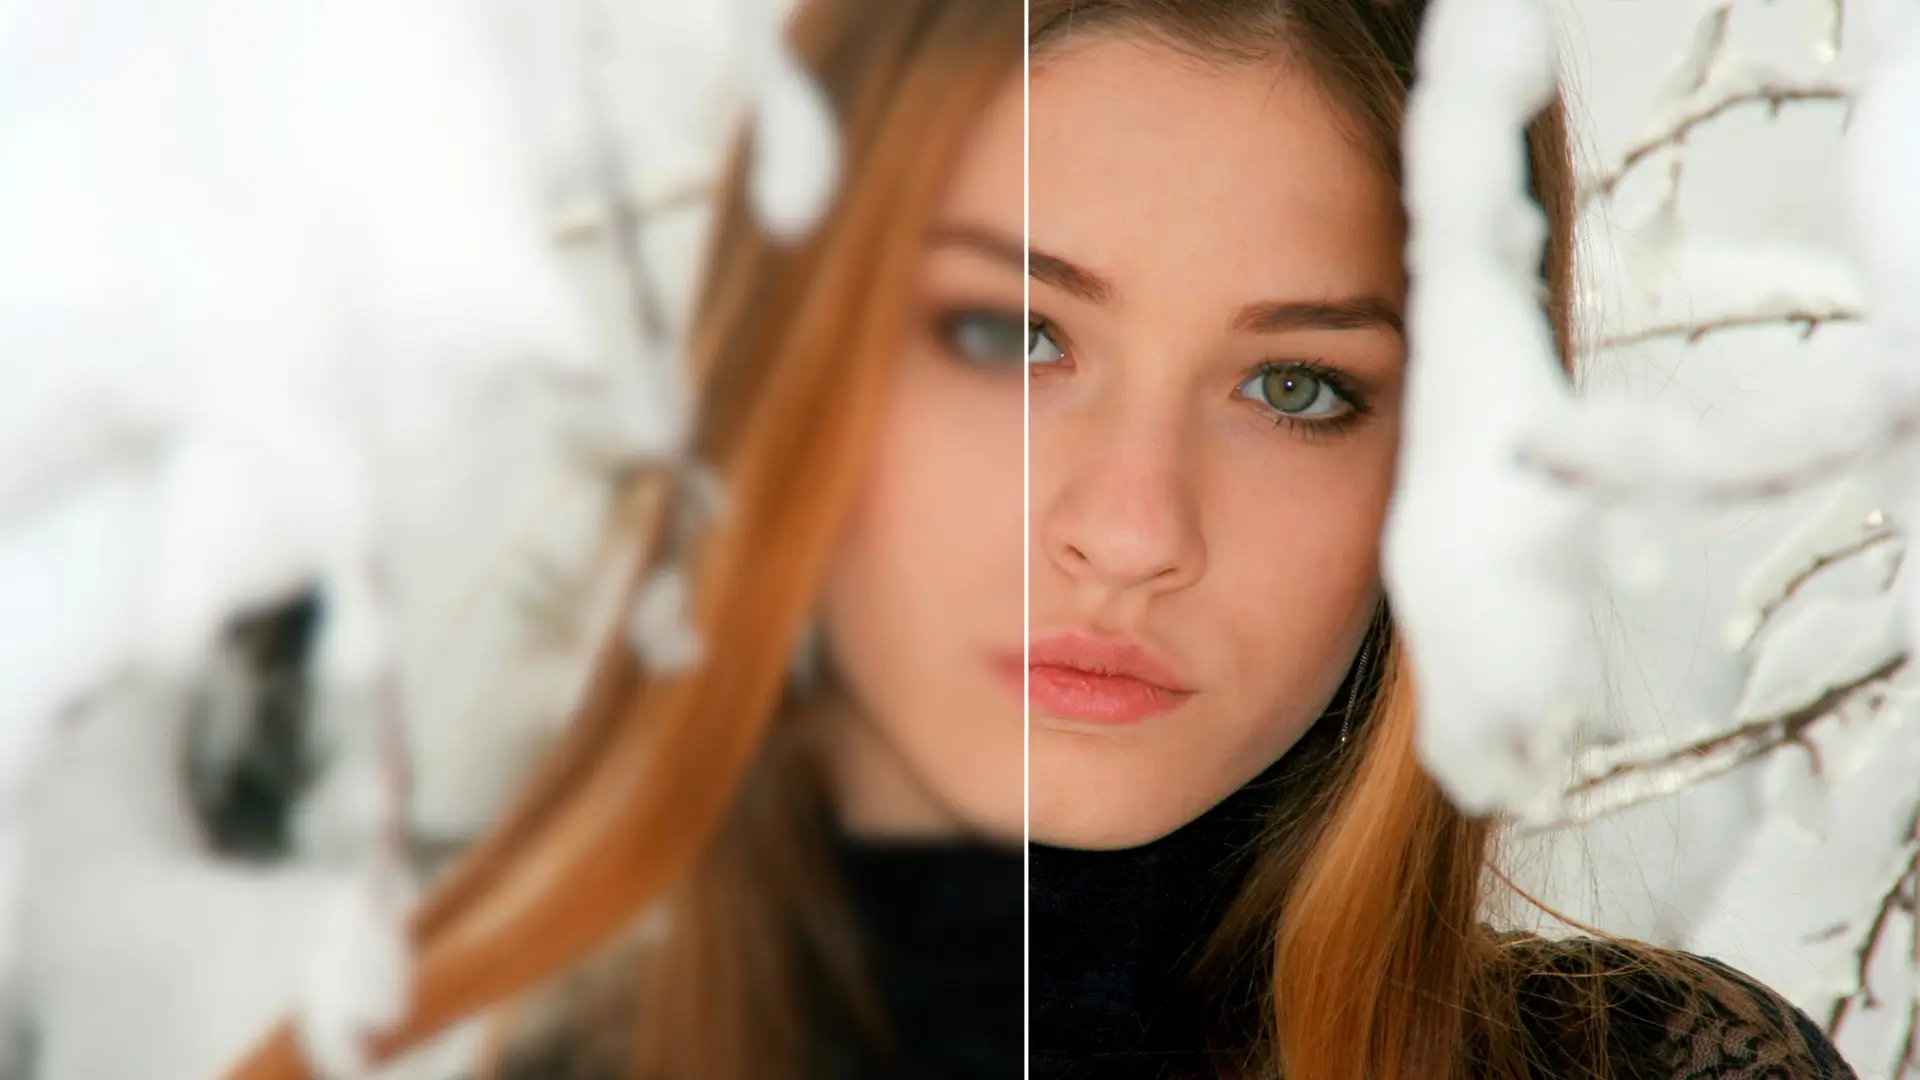
Have you ever taken a photo that looked perfect on your phone screen, only to discover it turns into a blurry, pixelated mess the moment you zoom in or try to print it? You’re not alone. Whether it’s a product shot for your Shopify store, a decades-old family photo you want to restore, or content you need to post on Instagram, low-resolution images are one of the most common creative frustrations — and for years, there wasn’t a good fix.
The traditional solutions were either expensive, complicated, or both. Professional software like Photoshop costs hundreds of dollars a year and takes months to learn. Hiring a retoucher means waiting days and paying per image. And those “free online upscalers” you find on search engines? Most slap a watermark on your result, cap the output quality at a barely noticeable improvement, or simply stretch your pixels without adding any real detail.
That’s changed. AI-powered photo enhancement has quietly become one of the most practical applications of machine learning — and the best part is, you don’t need to install anything, create an account, or spend a single dollar to get started. This guide shows you exactly how to convert your photos to HD quality, why AI-based upscaling works so much better than traditional methods, and how to get professional-looking results in under a minute.
Why Use an HD Photo Converter?
The difference between a basic image enlarger and an AI-powered HD photo converter comes down to one thing: whether the tool actually adds detail or just stretches pixels.
Traditional upscaling works by interpolation — the software guesses what the new pixels should look like based on the ones around them. The result is a bigger image, but not a better one. Edges get soft. Textures turn muddy. Fine details like hair strands, fabric weaves, or text on a sign become an indistinct blur.
A proper HD Photo Converter uses a fundamentally different approach. Instead of guessing from the existing pixels alone, the AI model has been trained on millions of image pairs — low-resolution and high-resolution versions of the same content. It has learned what real detail looks like: the texture of skin, the grain of wood, the crisp edge of a building against the sky. When you upload your photo, the AI reconstructs that missing detail intelligently rather than inventing it through interpolation.
This matters for three practical reasons. First, the output actually looks better — sharper edges, cleaner textures, fewer artifacts — not just bigger. Second, the process handles the common problems that ruin low-quality images, like JPEG compression blocks, sensor noise, and color banding. And third, the whole thing takes seconds, not the 30 minutes or more you’d spend manually adjusting sliders in a desktop editor.
For most people, the alternative to an HD photo converter isn’t Photoshop — it’s doing nothing and accepting a blurry, unprofessional image. That’s why having access to a free, browser-based tool changes the equation.
How to Convert Your Photos to HD: A Step-by-Step Guide
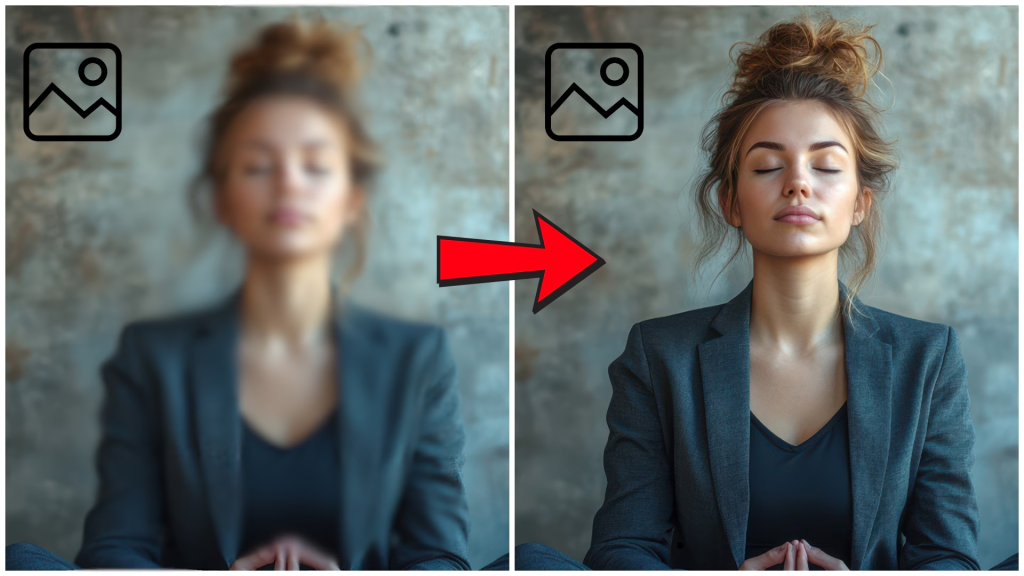
Converting a photo to HD quality might sound technical, but the actual process is surprisingly simple. Here’s how it works in four steps.
Step 1: Prepare Your Photo
Start with the best version of your image you have. The AI works with JPG, JPEG, PNG, WebP, and HEIC formats — so whether your photo came from a phone, a digital camera, or a scan, you’re covered. If the image has extreme compression artifacts or is smaller than 200 pixels on its longest side, the results will be limited by the source quality. But for the vast majority of everyday photos — product shots, social media images, scanned prints — the source quality is more than enough for a dramatic improvement.
One thing worth noting: avoid re-compressing your image before uploading. If you’re pulling a photo from a messaging app, use the original file rather than a screenshot of the photo.
Step 2: Upload and Let the AI Work
Once you open the tool in your browser, you simply drag and drop your photo onto the upload area — or click to select it from your device. There’s nothing to configure, no settings to puzzle over. The AI model, powered by Real-ESRGAN neural network technology, automatically analyzes your image’s structure and begins reconstructing textures, edges, and fine details.
What happens under the hood is genuinely impressive. The model examines your photo at multiple scales simultaneously — looking at both the overall composition and the pixel-level details. It identifies faces and enhances features like eyes, skin texture, and hair. It detects patterns like fabric weaves or brick walls and sharpens them without introducing unnatural artifacts. And it removes the blocky JPEG compression artifacts and color noise that make low-quality images look cheap.
Processing takes between 5 and 15 seconds for most photos. You’ll see a progress indicator, and when it’s done — that’s it. No export dialog, no render queue, no “save as” menu. The HD version appears right in your browser.
Step 3: Compare Before and After
One of the most satisfying parts of the process is the interactive comparison slider. Drag it back and forth across your image to see exactly what the AI changed. The differences are often striking: a blurry product photo becomes sharp enough to show fabric texture. A grainy old family photo looks clean, with faces that were previously indistinct now clear and recognizable. A compressed screenshot reveals text that was previously unreadable.
This isn’t just for show — the comparison tool helps you verify the quality improvement before you download. If something looks off (which is rare with modern AI models), you can try again with a different source image or accept that some extreme cases push the limits of what’s currently possible.
Step 4: Download Your HD Image
When you’re happy with the result, download your HD photo. On the free tier, you get up to 2x upscaling — which takes a standard 960-pixel image and outputs a crisp 1920-pixel (1080p HD) version. For 4K Ultra HD output, up to 4x upscaling is available on paid plans.
Your downloaded image comes without watermarks, and the platform automatically deletes your uploaded and processed photos from its servers immediately after processing. No storage. No sharing. Your images stay yours.
Who Benefits Most from HD Photo Conversion
Different people come to HD photo conversion with different needs. Here’s how the most common use cases break down.
E-commerce sellers use HD photo converters to turn supplier-provided product images — which are often low-resolution and poorly compressed — into sharp, professional-looking catalog photos. On marketplaces like Amazon and Etsy, image quality directly impacts conversion rates. A crisp product photo with visible texture and detail builds buyer confidence in ways that a blurry, artifact-heavy image undermines.
Social media creators deal with a constant demand for fresh, high-quality visual content. Phone photos that look fine in your camera roll often degrade noticeably when uploaded to Instagram or compressed by Facebook’s image processing. Running them through an HD converter before posting preserves the quality that platforms strip away.
Print and poster makers face a specific technical challenge: print requires much higher resolution than screens. An image that looks sharp at 72 DPI on your monitor needs to be at least 300 DPI for a clean print. AI upscaling bridges that gap, turning web-resolution images into print-ready files.
Old photo restorers get perhaps the most emotionally resonant benefit. Scanning a decades-old print inevitably introduces noise, blur, and color fading. AI HD conversion can’t work miracles on an image that’s 90% lost — but for the vast majority of old family photos, it restores an impressive level of detail, cleans up noise, and makes faces readable again.
Tips for Getting the Best HD Results
- Start with the highest quality source available: The AI works best when it has real data to work from. A 600-pixel-wide image will produce much better HD output than a 200-pixel thumbnail.
- Avoid pre-compressed images: Screenshots of photos and images saved from messaging apps have already been compressed once. Use the original file whenever possible.
- Match your output size to your actual need: 2x upscaling is more than enough for social media and web use. Save 4x for when you genuinely need print resolution or large-format display.
- Use the comparison tool to verify quality: Always check the before/after slider before downloading. It takes two seconds and confirms you’re getting the result you want.
- Process one image at a time on the free tier: Free users get one-image-at-a-time processing, which keeps things simple and fast. For bulk work, paid plans support sequential batch processing.
Frequently Asked QuestionsIs an HD photo converter really free?
Yes. The free tier of the HD photo converter lets you upscale images to 2x (1080p HD) at no cost, with no watermark and no sign-up required. Paid plans unlock 4x upscaling and batch processing for users who need higher volume or print resolution.
Do I need any technical or design skills?
Not at all. The entire process is drag-and-drop: upload, wait a few seconds, download. There are no sliders, no settings, and no decisions to make. The AI handles everything automatically.
Will my photos be stored or used for AI training?
No. Photos are automatically deleted from the server immediately after processing and are never used for model training, storage, or any other purpose. Privacy is built into the workflow.
What image formats are supported?
You can upload JPG, JPEG, PNG, WebP, and HEIC files. Outputs are available in JPG and PNG formats. For most users, PNG is the better choice for quality, while JPG offers smaller file sizes.
How long does the conversion take?
Most photos process in 5 to 15 seconds. Larger files or images with more complex detail may take up to 30 seconds. Either way, it’s dramatically faster than manual editing.
How is AI upscaling different from regular photo enlargement?
Regular enlargement uses interpolation to guess new pixel values based on neighboring pixels — it makes the image bigger but not better. AI upscaling uses a neural network trained on millions of image pairs to reconstruct genuine detail, textures, and sharp edges that standard enlargement loses.
Start Converting Your Photos to HD Quality
AI-powered photo enhancement has quietly become one of the most practical and accessible creative tools available today. What once required expensive software, professional training, or hiring a specialist is now something you can do in your browser in under a minute — for free, and without giving up a pixel of quality to watermarks or compression.
Whether you’re polishing product photos for your online store, restoring old family memories, or making sure your social media content looks crisp and professional, the technology is ready when you are. The only thing left is to upload your first photo and see the difference for yourself.
